The Ultimate Beginner's Guide to MidJourney
How to Purchase MidJourney on a PC?
This guide demonstrates the process for Windows users, but the steps are similar for Mac.
Step 1: Visit the GamsGo official website, select MidJourney, and complete the purchase.

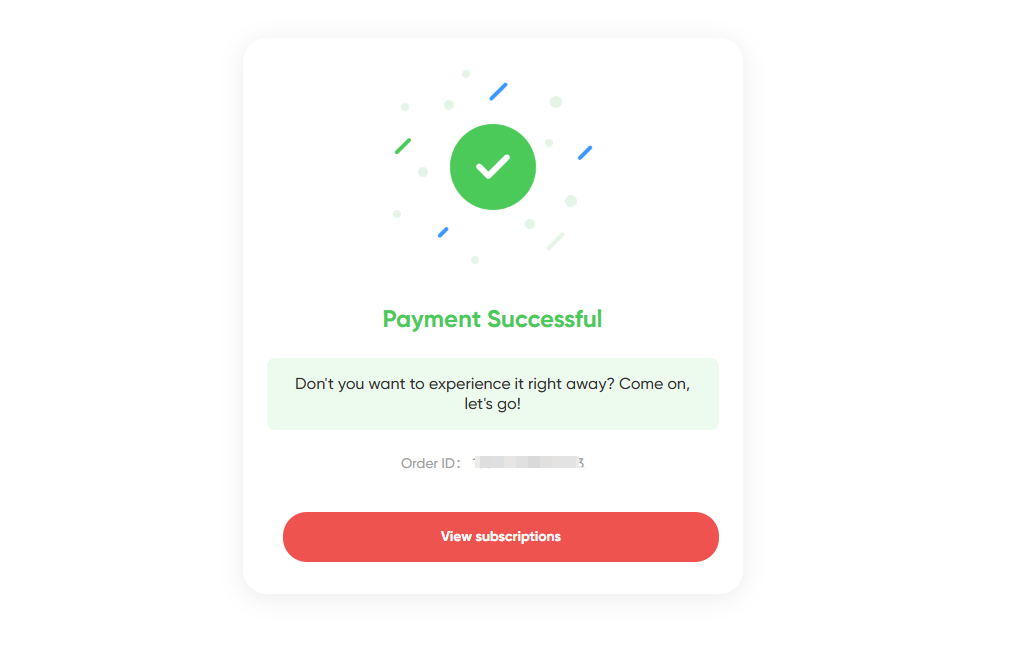
Step 2: Once your order is confirmed, click the [View Subscription] button.
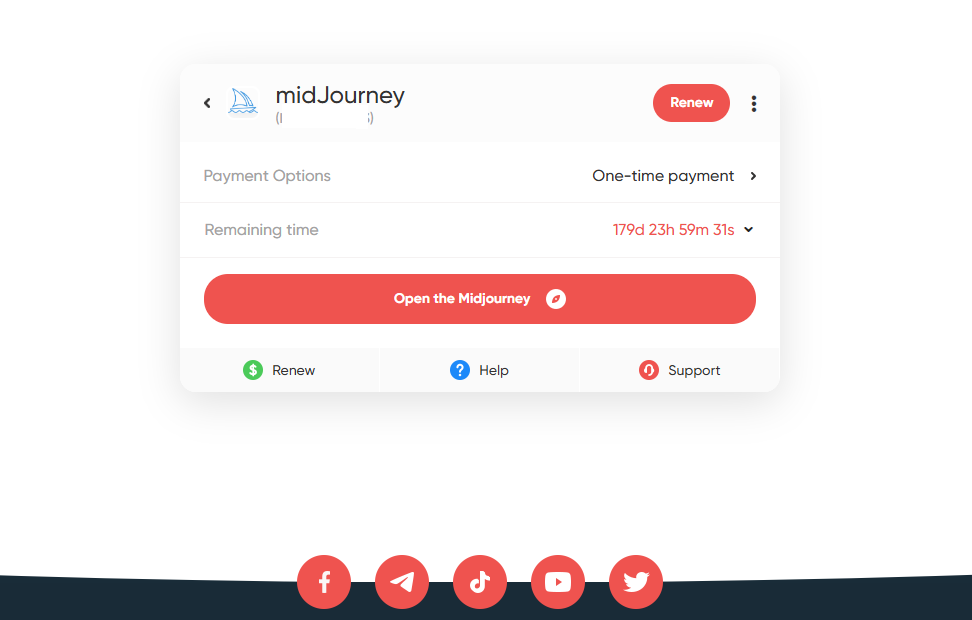
Step 3: On the redirected page, click [Open the MidJourney].
Step 4: Congratulations! You now have access to the MidJourney interface.
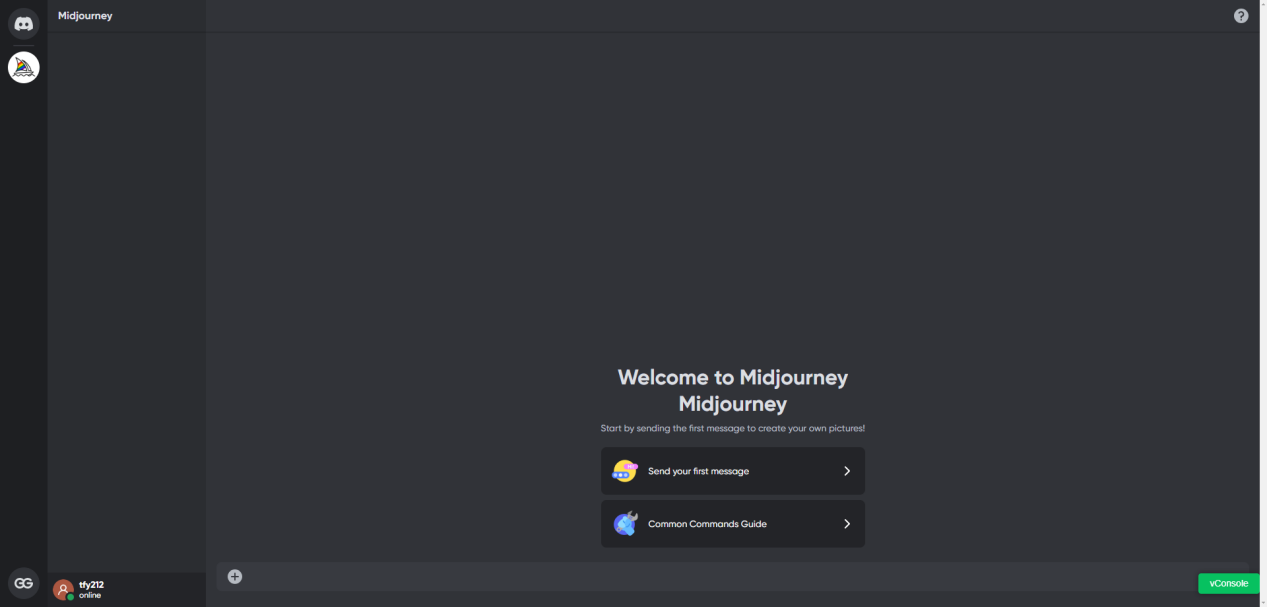
This step-by-step guide simplifies purchasing MidJourney on a PC, addressing challenges with PC compatibility.
How to Use MidJourney for Creative Projects?
Entering Commands
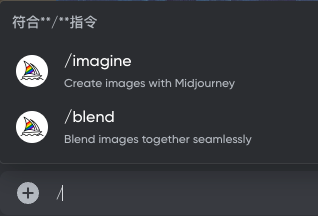
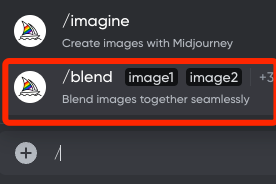
Type "/" in the chat box to reveal two options: "/imagine" and "/blend." Choose the one you need.
The "/imagine" Command
This command generates images based on text descriptions.
How to use:
-
Type "/" ➡️ select the /imagine command.
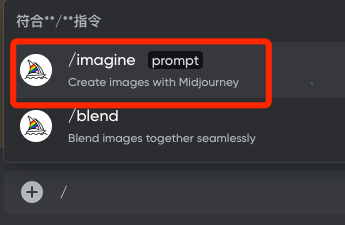
-
Add your description after the prompt and press Enter. [Descriptions in English yield better results.]
For example, to generate an image of a cute kitten, type "a cute cat" after the prompt.
-
Wait for MidJourney to process your request. Response time depends on user load and description complexity. Simple prompts yield faster results.
Tip: You can monitor the progress bar.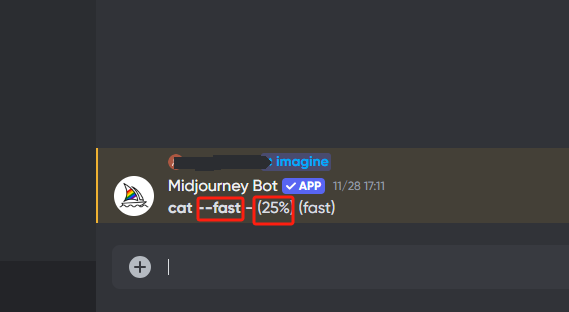
-
Once complete, view your generated image.
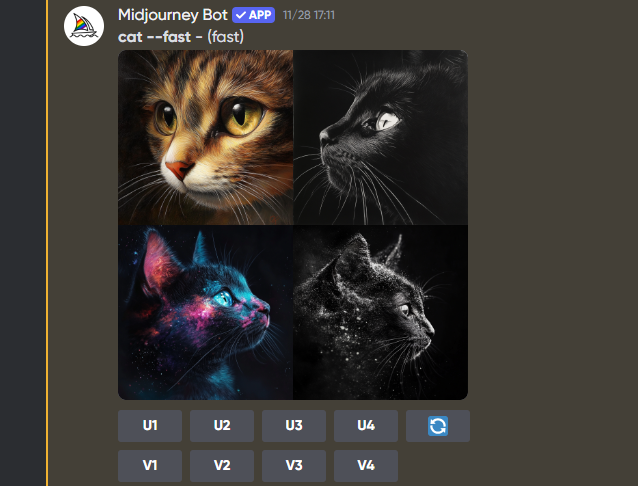
The "/blend" Command
This command mixes multiple uploaded photos into a new image that combines their features.
How to use:
-
Type "/" ➡️ select the /blend command.
-
Upload the photos you want to merge.
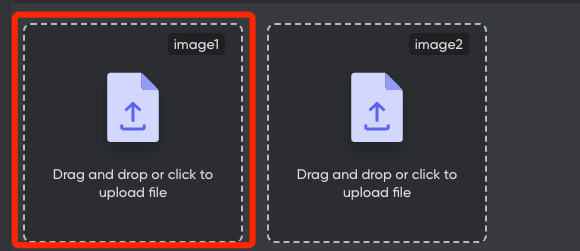
-
Wait for MidJourney to generate the blended image. Smaller and fewer files yield quicker results.
-
View the final blended image.
Fine-Tuning Images
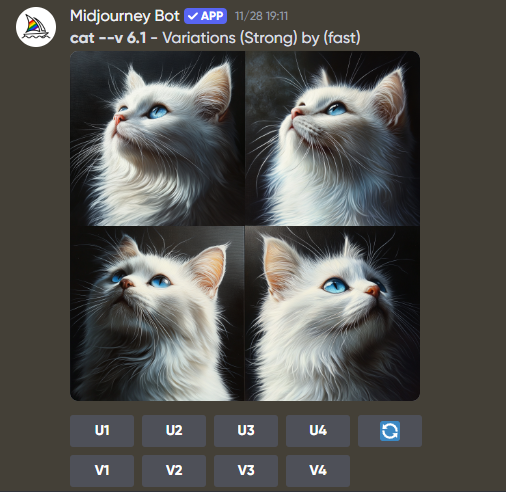
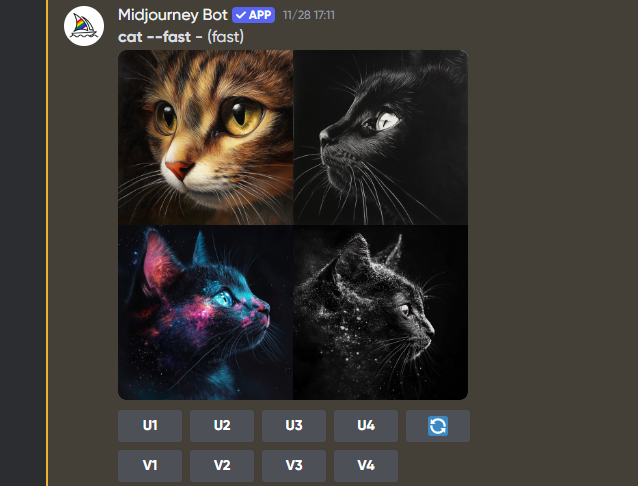
Below each set of generated images, you’ll find buttons labeled "U1-U4" and "V1-V4," along with additional options for customization.
U1-U4 Buttons
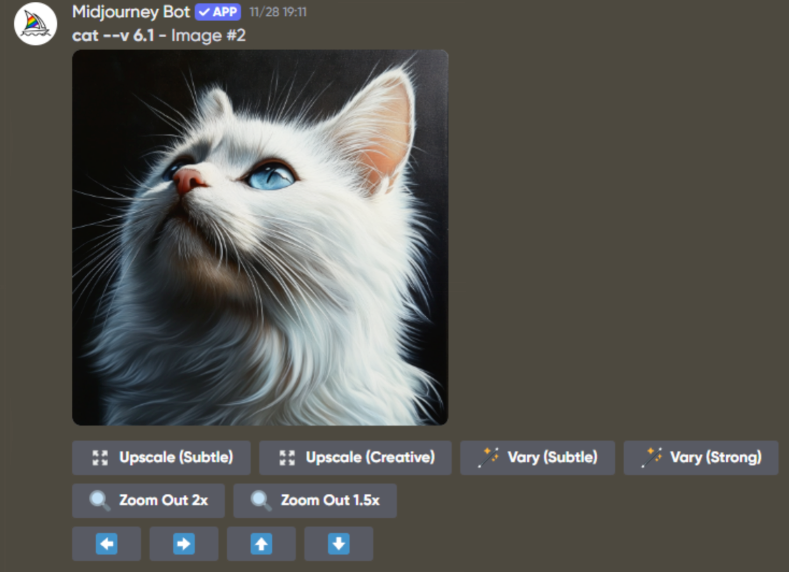
Select one of the four generated images.
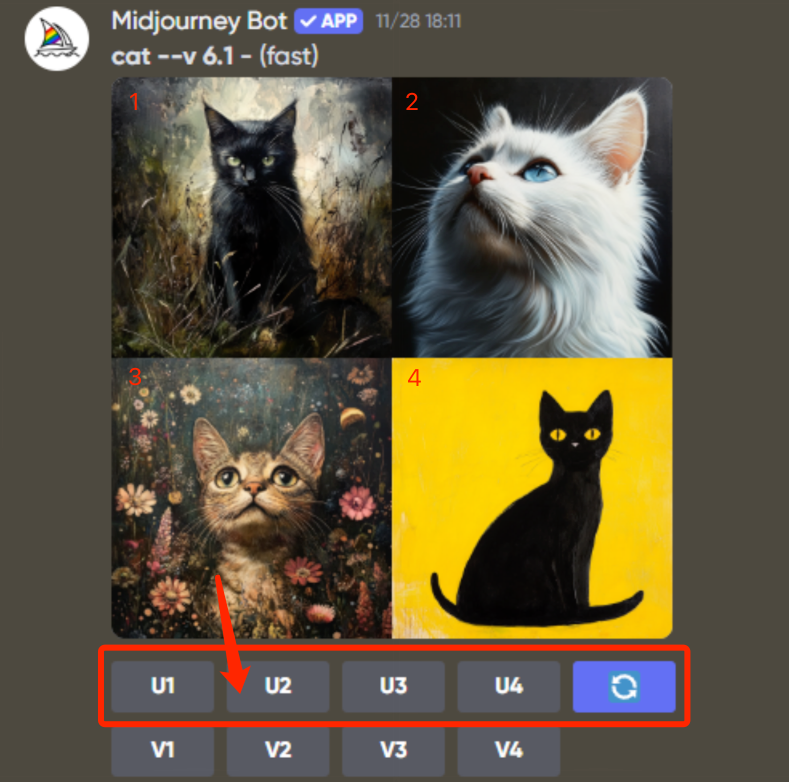
V1-V4 Buttons
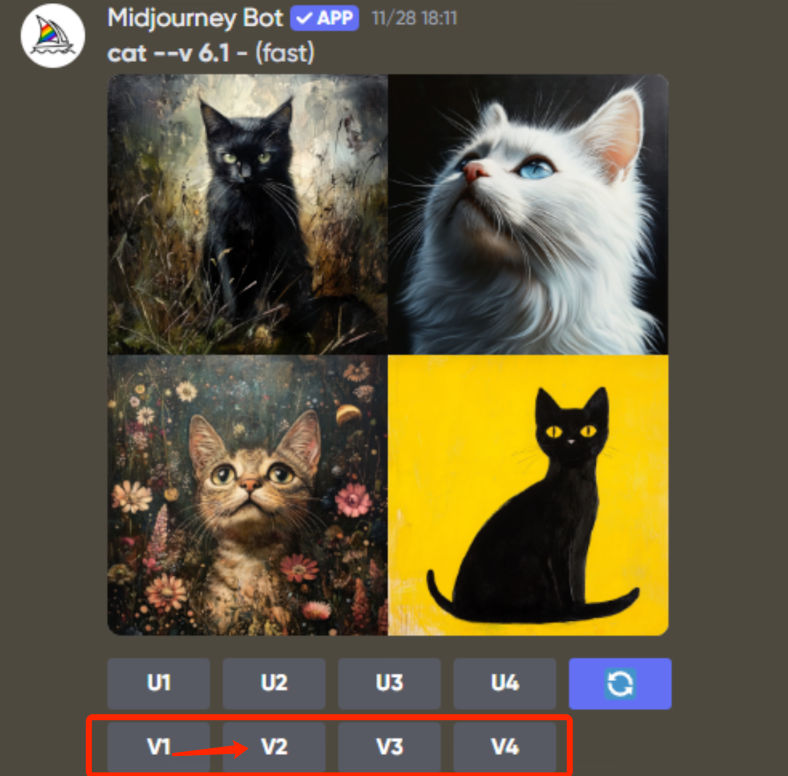
Generate new variations of a selected image (e.g., adjusting expression or angle).
For example, if I want to modify the white kitten image, I would click the V2 button, and MidJourney will adjust the image based on the white kitten.


Regenerate Button
Use this if none of the four images meet your expectations. It generates new results based on your initial input.
Other Customization Buttons
After using the U button, additional options appear, such as:
-
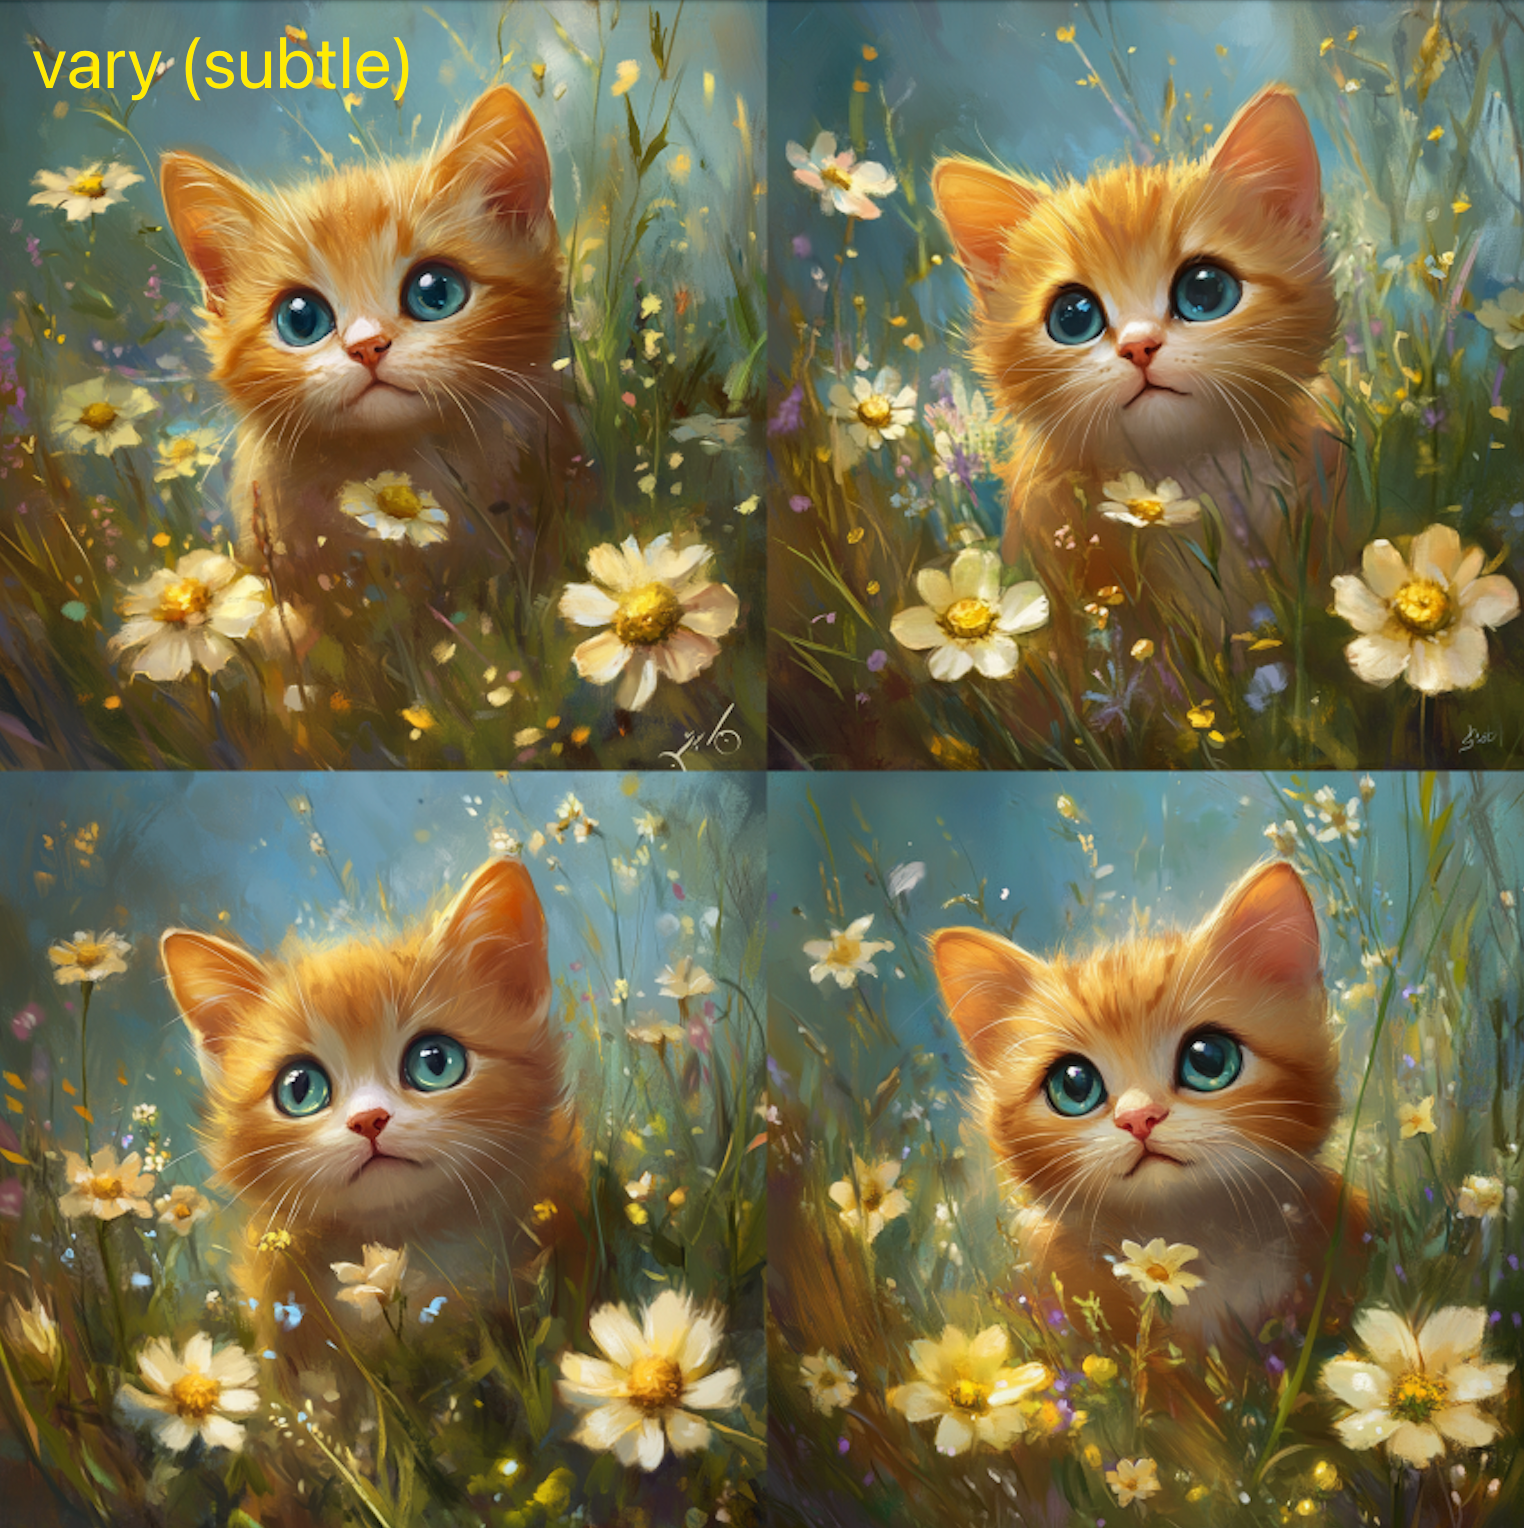
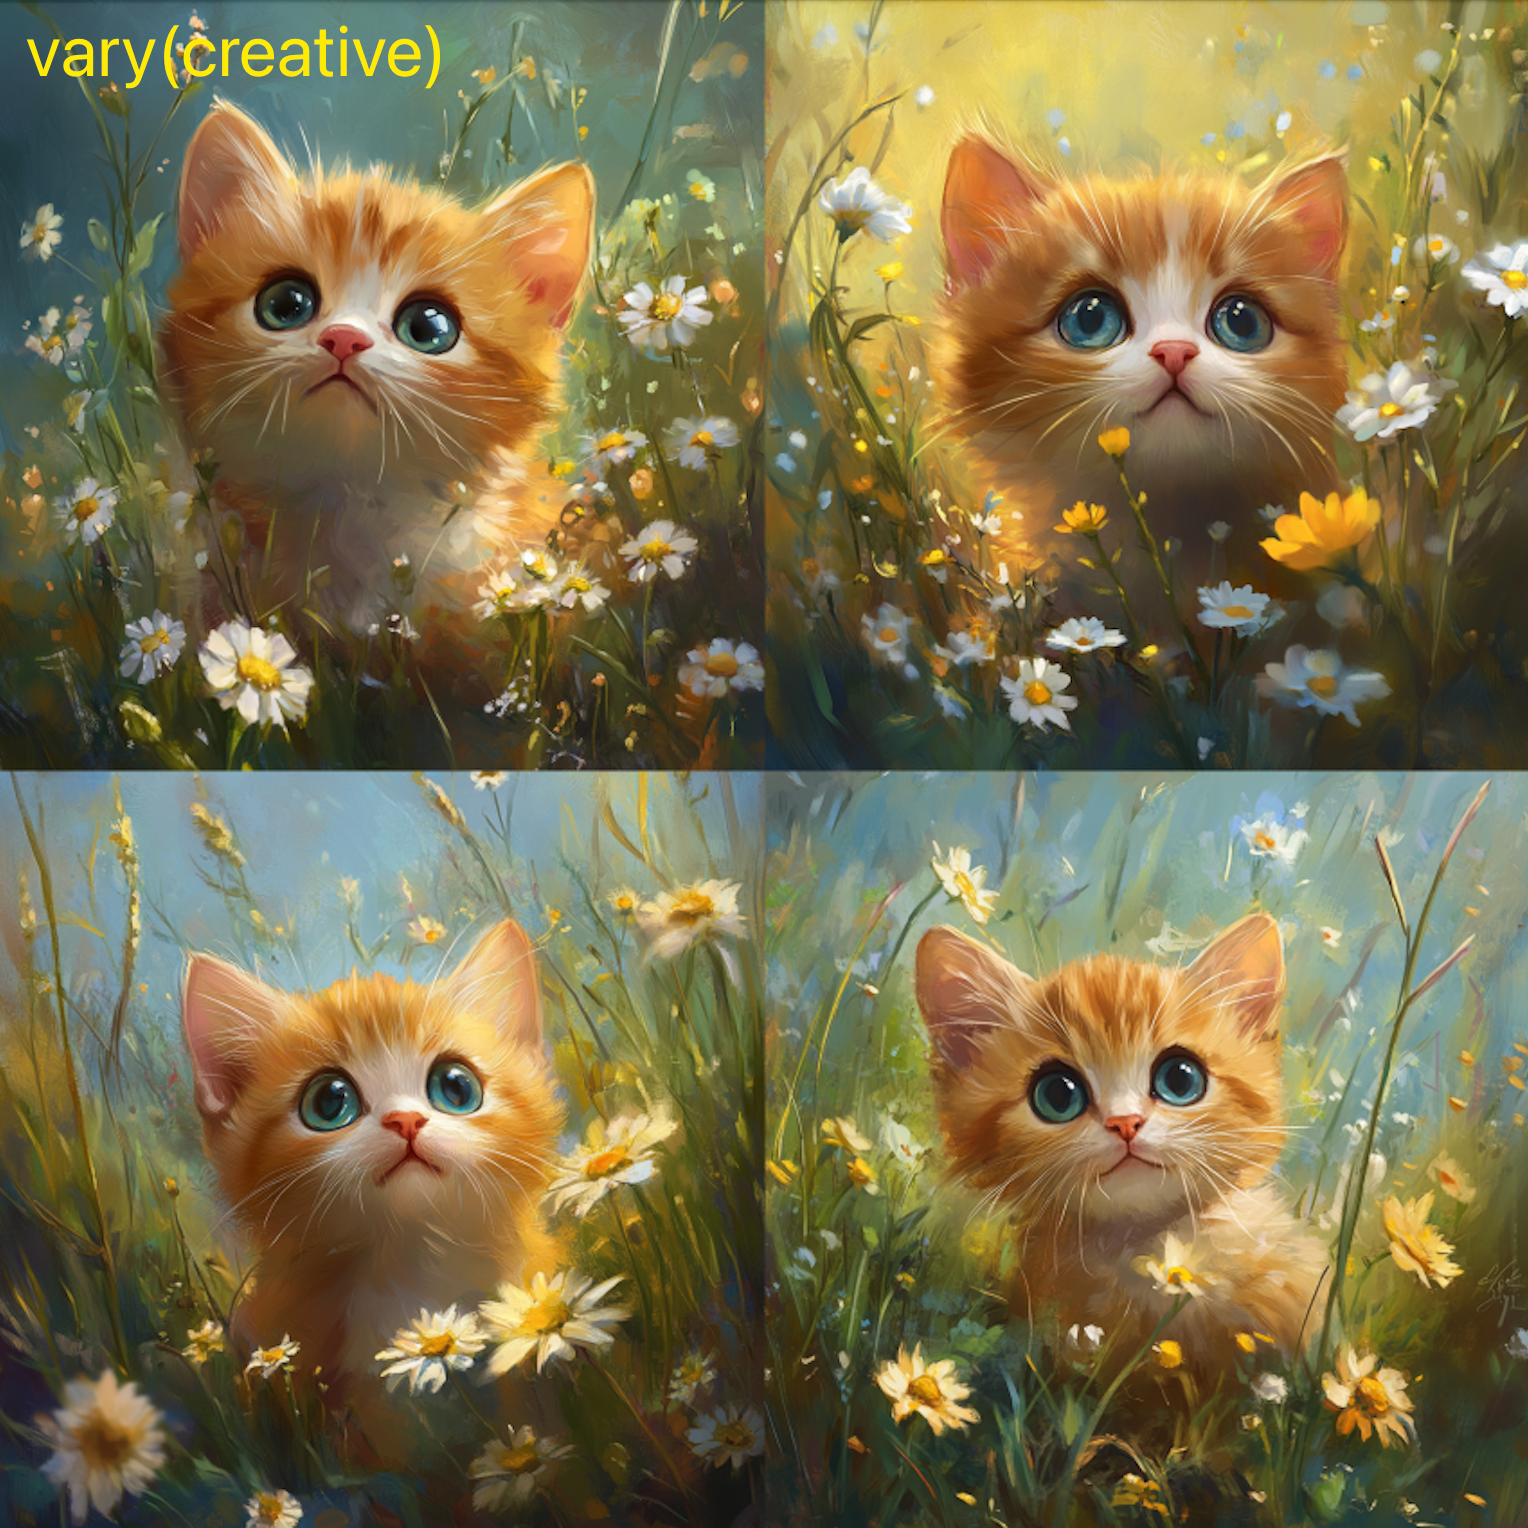
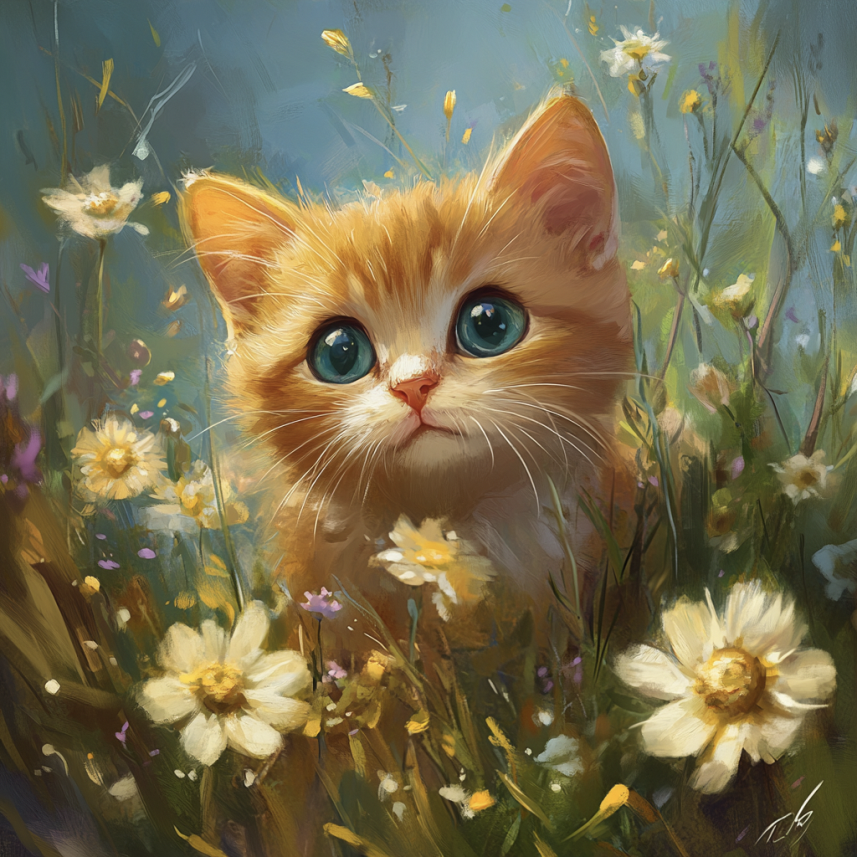
Upscale: Enlarges the image. "Subtle" retains the original content, while "Creative" introduces artistic modifications.
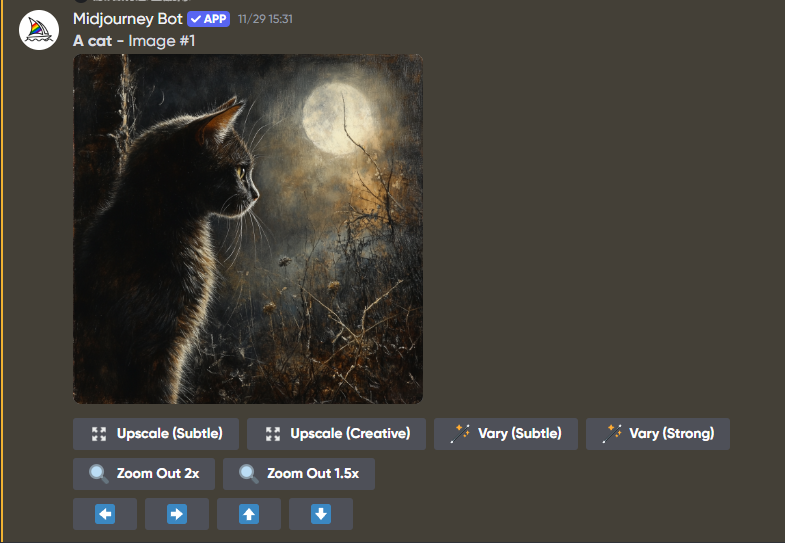
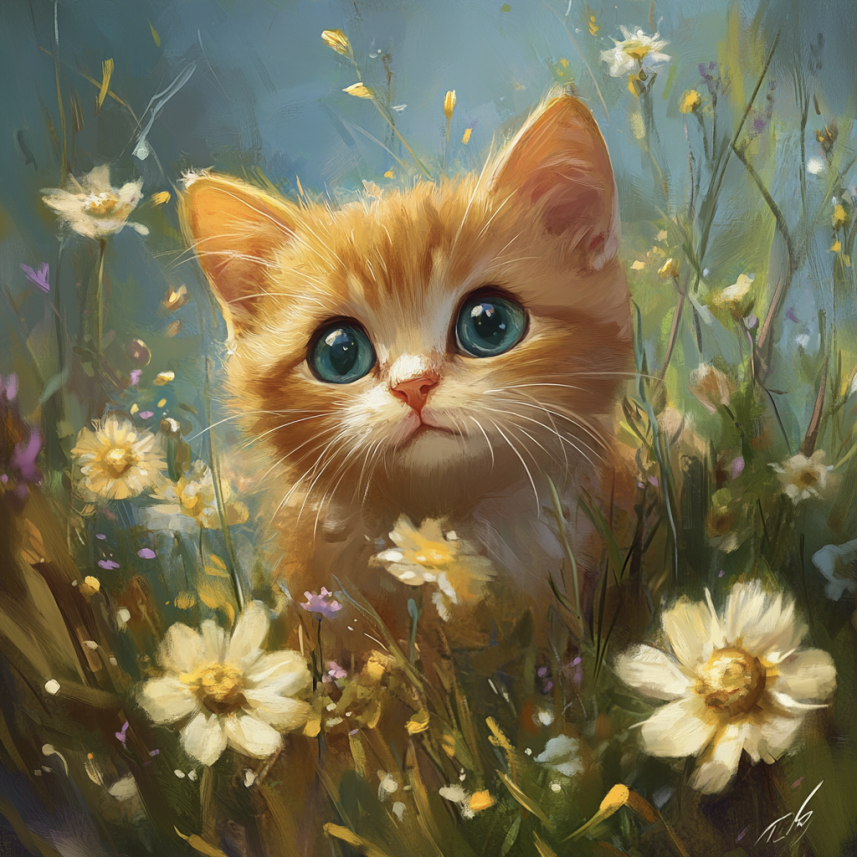
Tip: The size difference is not directly reflected on the page. It is visible when viewing the larger image. Below the example shows the image before using Upscale (Subtle), with a resolution of 1024×1024.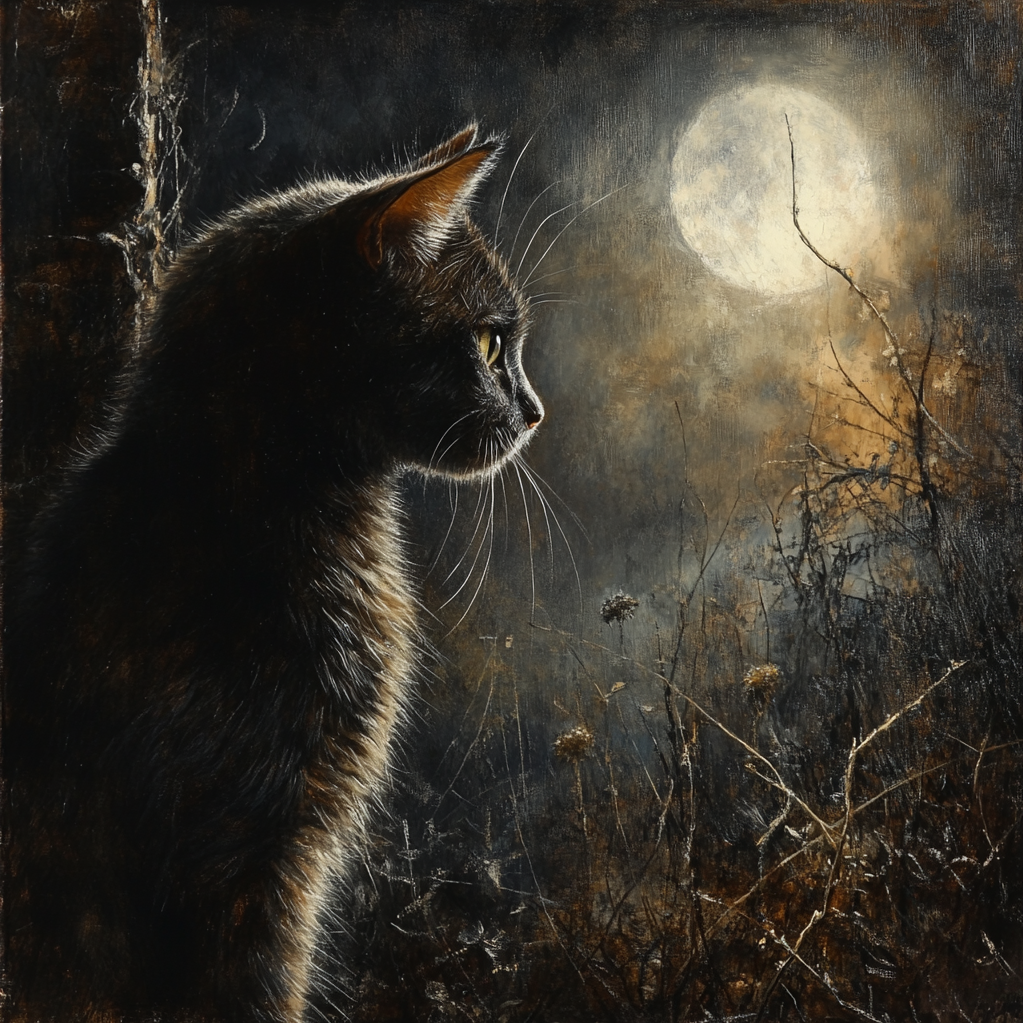 The two images below show the effect of the Upscale (Creative) button. In the larger image, noticeable changes appear in the fur and background compared to the original, with a resolution of 1314×1314.
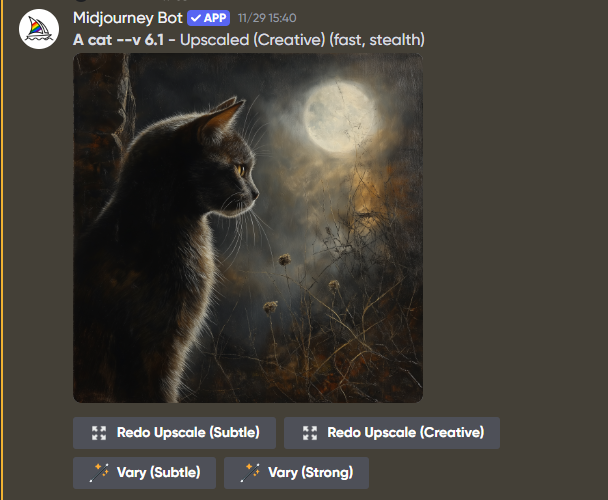
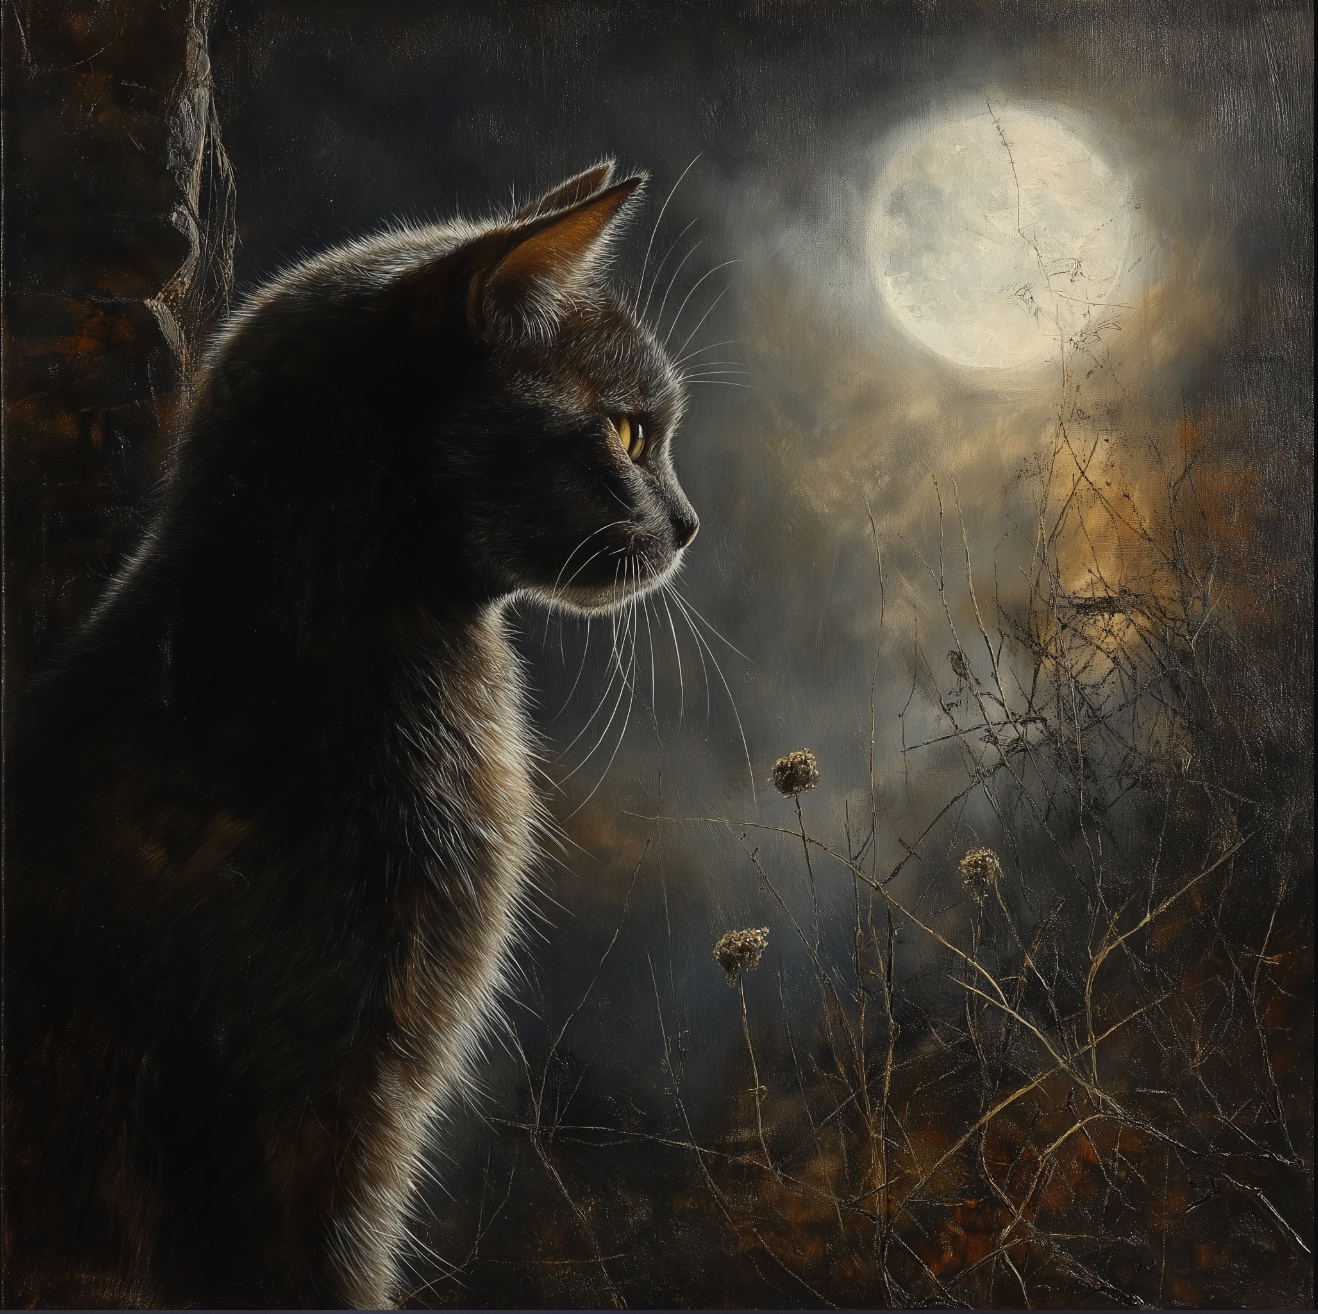
-
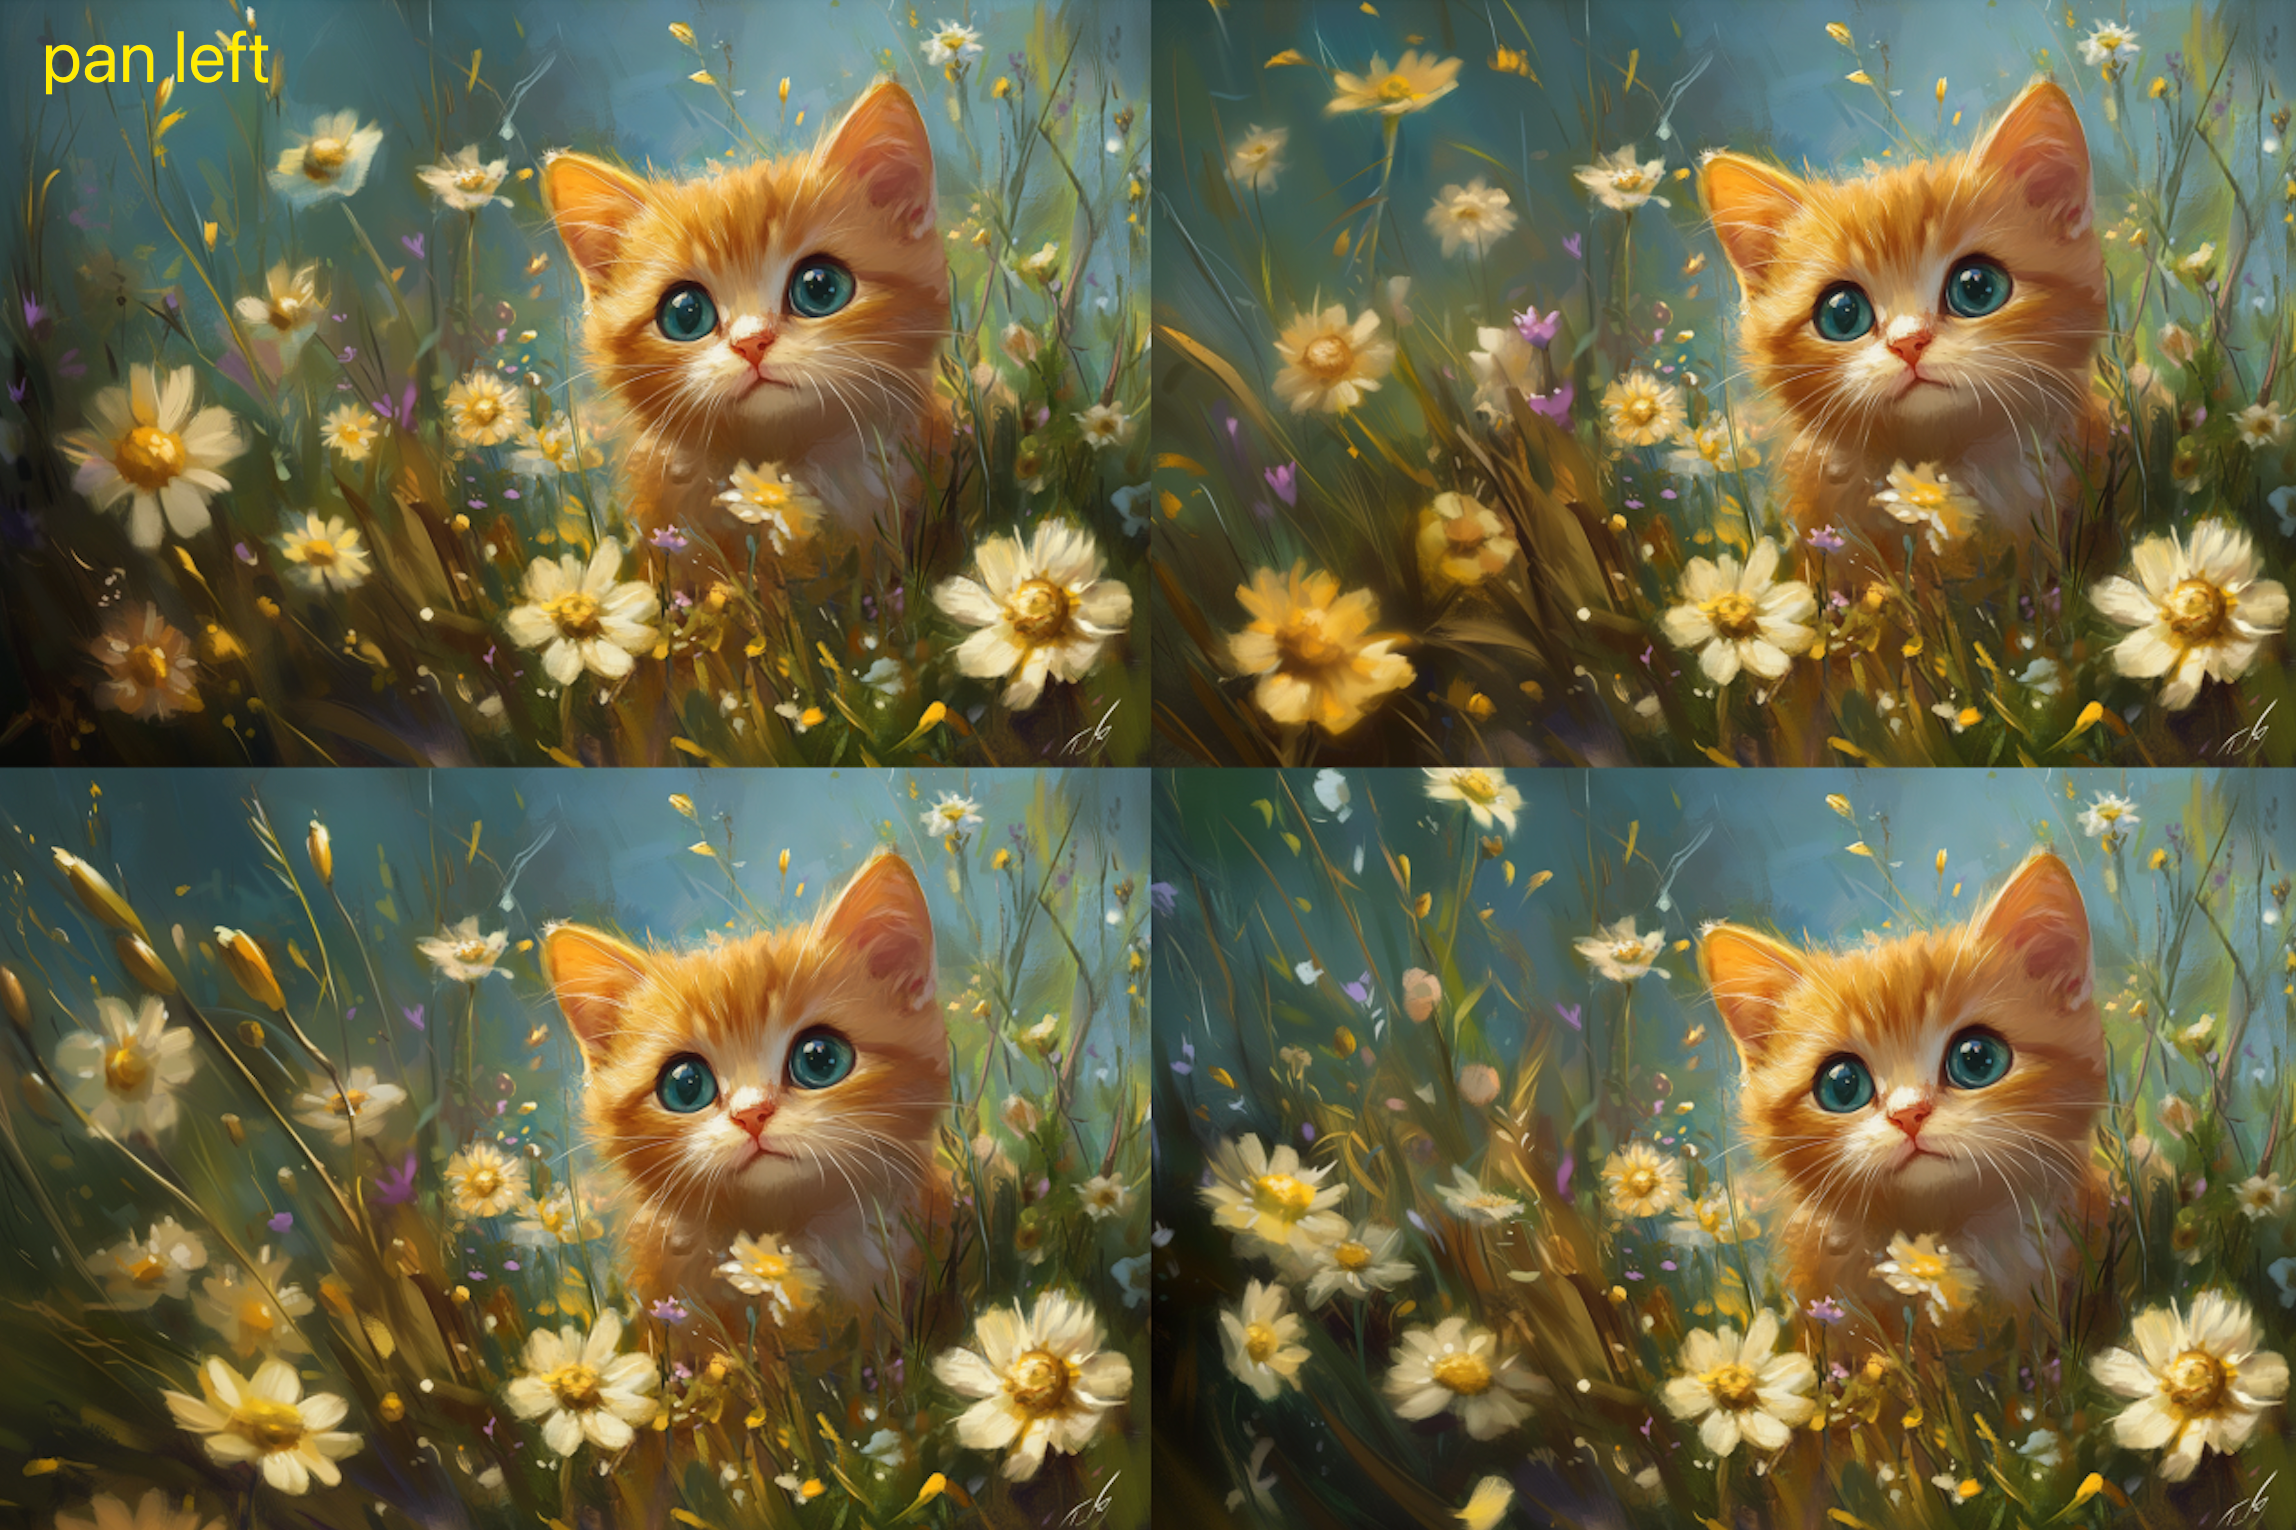
Zoom Out: Expands the canvas, offering 1.5x or 2x zoom-out options.
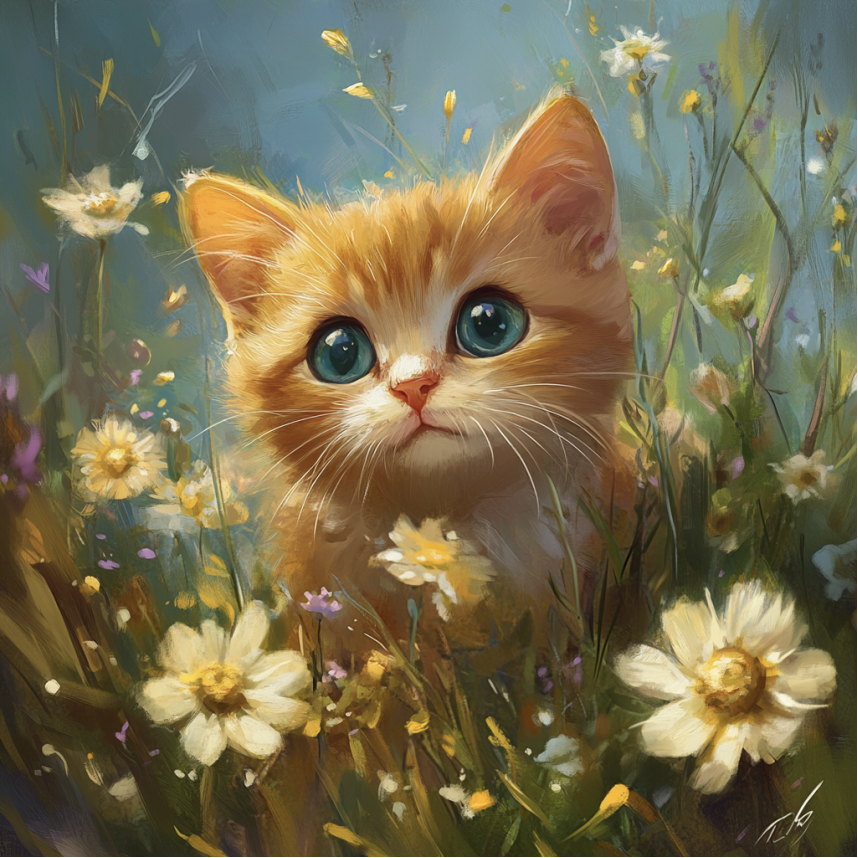
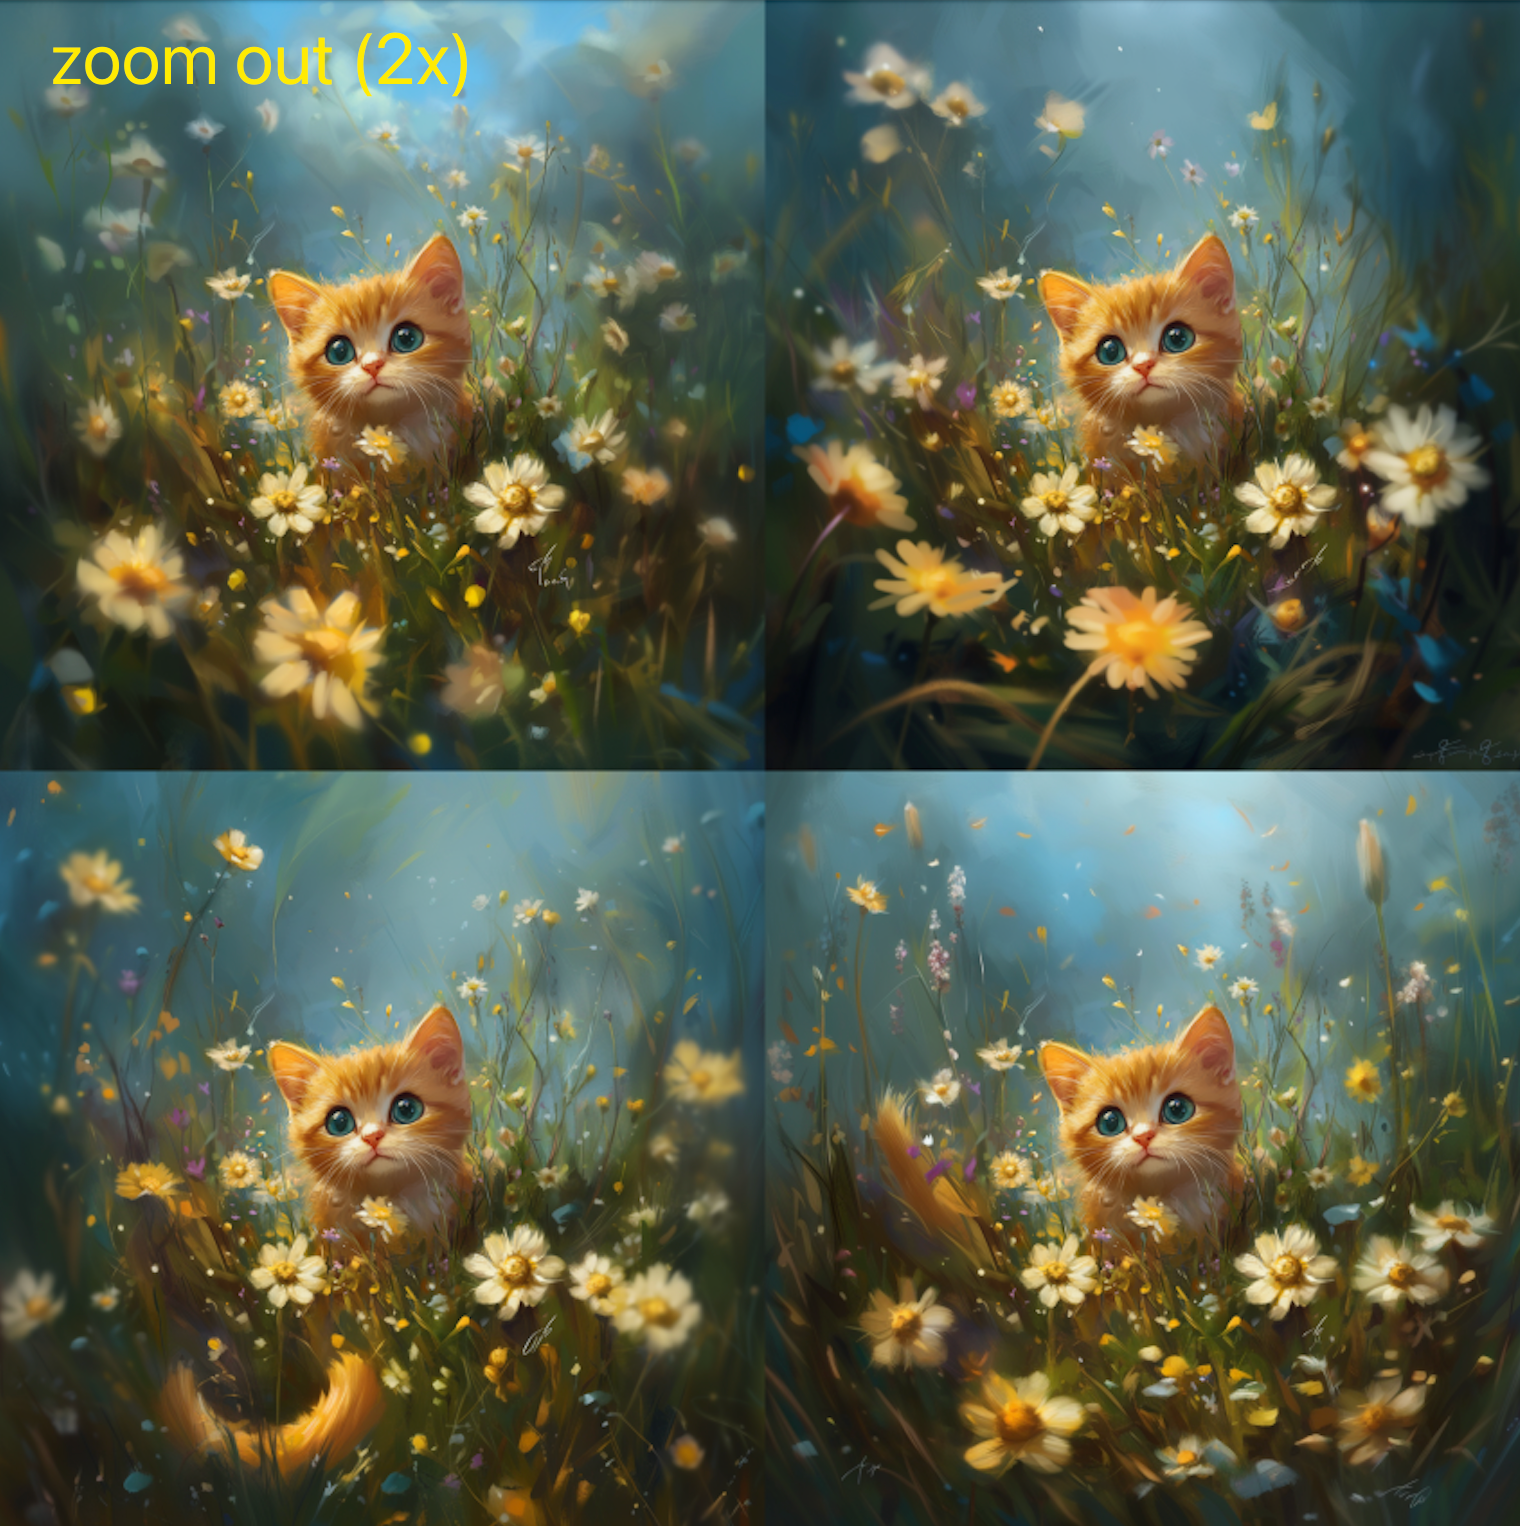
-
Directional Arrows: Shift the image in the specified direction.
Using Prompts
Prompts consist of:
-
Text Prompt: A description of the image to be generated, using one or more keywords. This is the most important and frequently used part of any command.
-
Parameters: Determines image generation parameters, such as aspect ratio. This is optional; if not specified, default values are used.
Example Commands
To create a "girl playing guitar" with a 16:9 aspect ratio:
-
Type "/imagine" and input:
A girl playing guitar --ar 16:9.
In this command, "A girl playing guitar" specifies the content of the image, while "--ar 16:9" sets the aspect ratio to 16:9 (note the spaces before and after "--ar" but none after "9").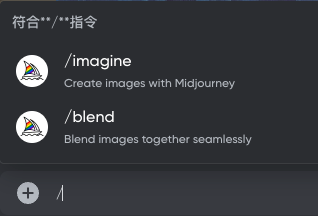

-
MidJourney generates four images matching these parameters.
Each with a 16:9 aspect ratio, perfectly matching the command.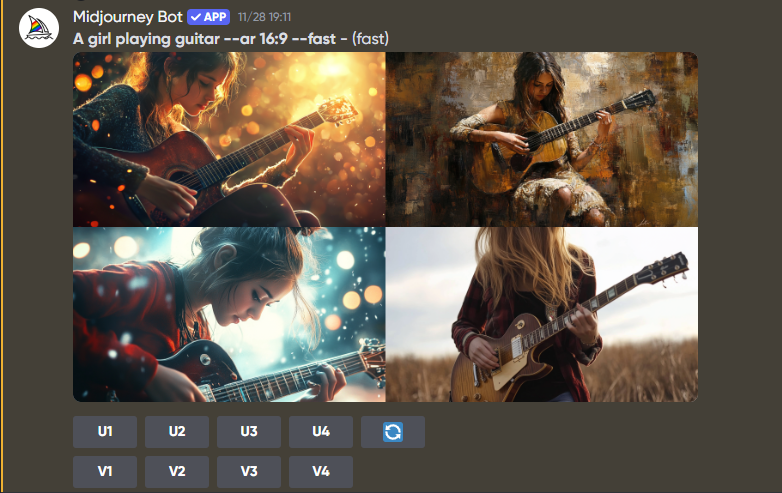
Click the image to view the original.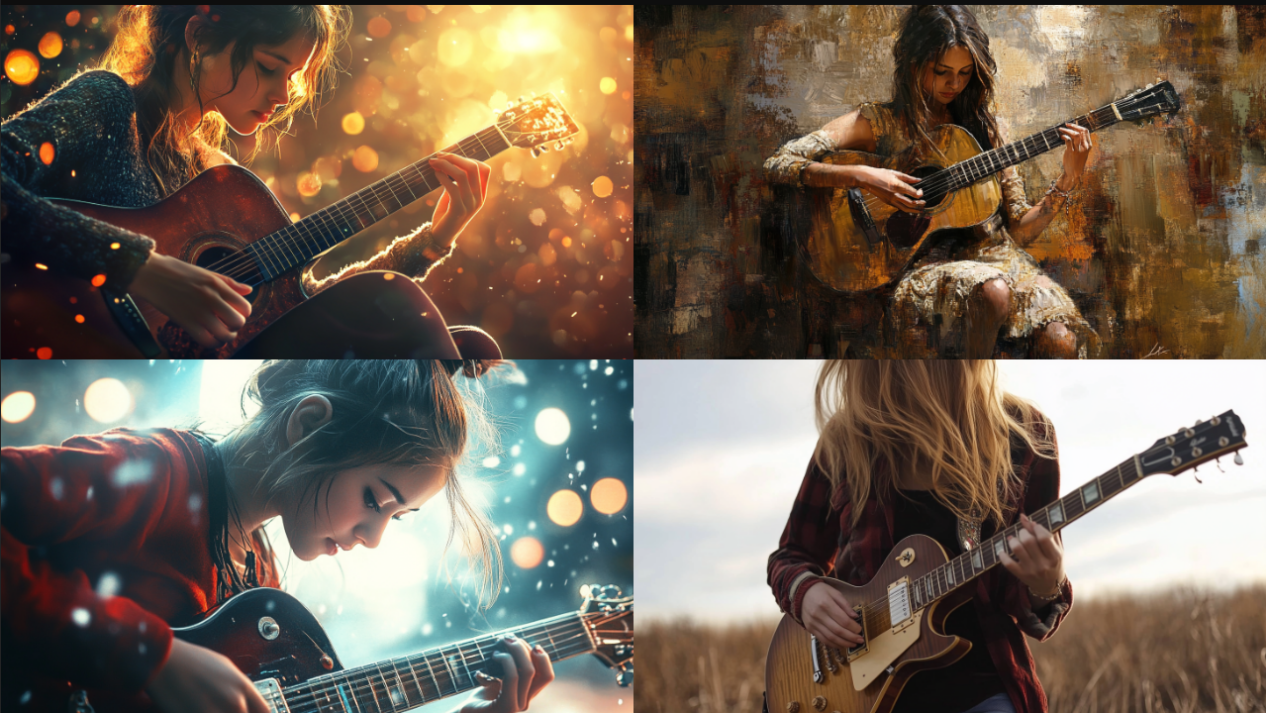
Now, let’s see what happens when the aspect ratio is not restricted. Again, type "/imagine," and in the prompt bar, enter: "A girl playing guitar."
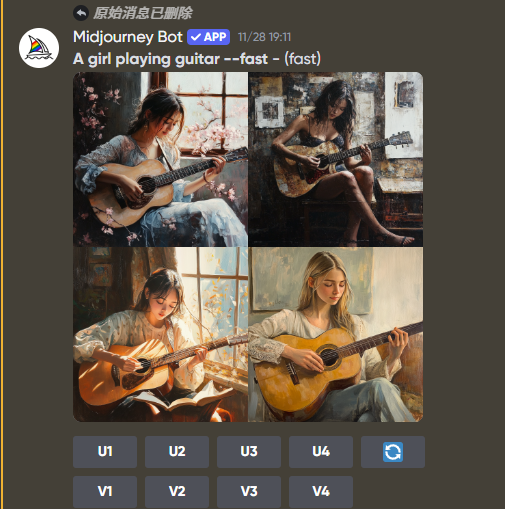

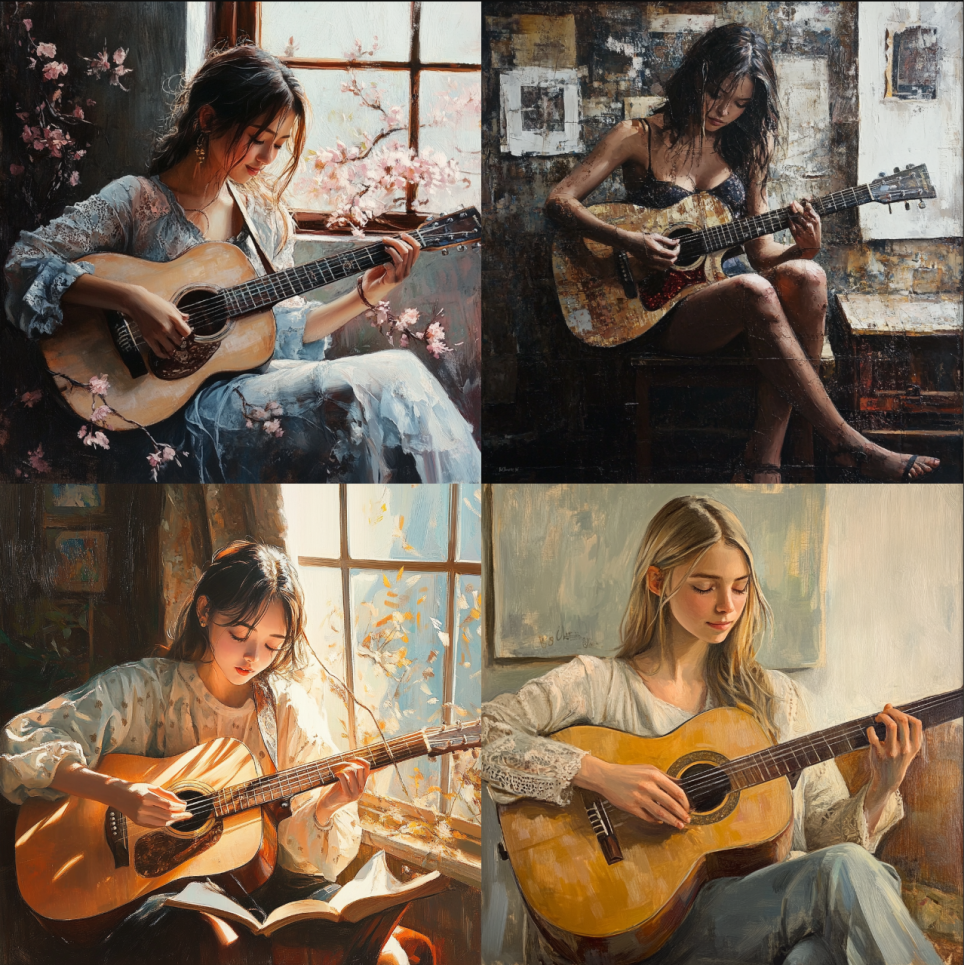
Without aspect ratio restrictions, the default ratio is 1:1.
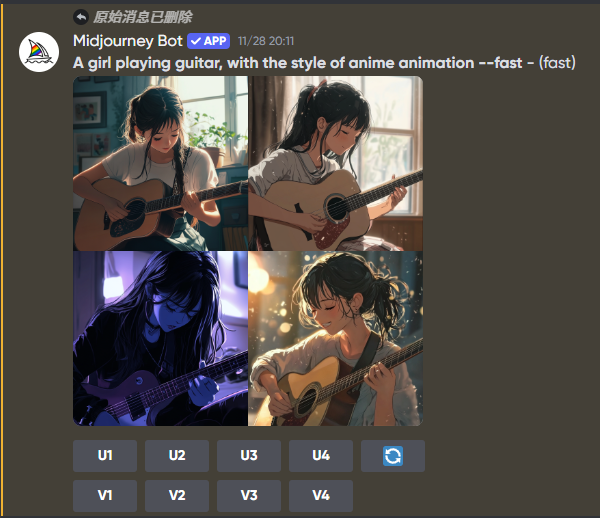
As shown above, while the output matches the request, what if we need more refined results? For instance, if we only want an anime-style image of a "girl playing guitar," how should we input the command?
Type "/imagine" in the input box. This time, enter: "A girl playing guitar, with the style of anime animation." The generated images will all have an anime style.
